Bearing replacement on an Electrolux EDV505 and similar Simpson and Westinghouse clothes dryers
by johna | January 6, 2023 | Electrical Repairs
The rear bearing on the Electrolux EDV505 and other similar Electrolux, Simpson and Westinghouse dryers are a common failure item.
As soon as you hear it squeaking it's time to replace it. Otherwise, it will eventually fail altogether and can also damage the dryer.
Bearings are inexpensive (I got one for less than A$11 shipped on eBay) and easy to replace.
In the case of our clothes dryer, the bearing was well past the squeaking stage and had got so bad the dryer was no longer working at all. The rear metal panel had also worn away. I did a little online research and the advice was that the rear panel should be replaced, but I couldn't find one and I guessed that the cost would have been prohibitive anyway [Edit: Yep, A$107], so I opted to just change the bearing and hope.
There are plenty of instructions on how to replace the bearing online including YouTube videos but I've summarised the process below. You will need 1/4" and 1/2" sockets, and a crosshead screwdriver.
1. It may be easier if you lay the dryer face down - but be careful of damaging the door.
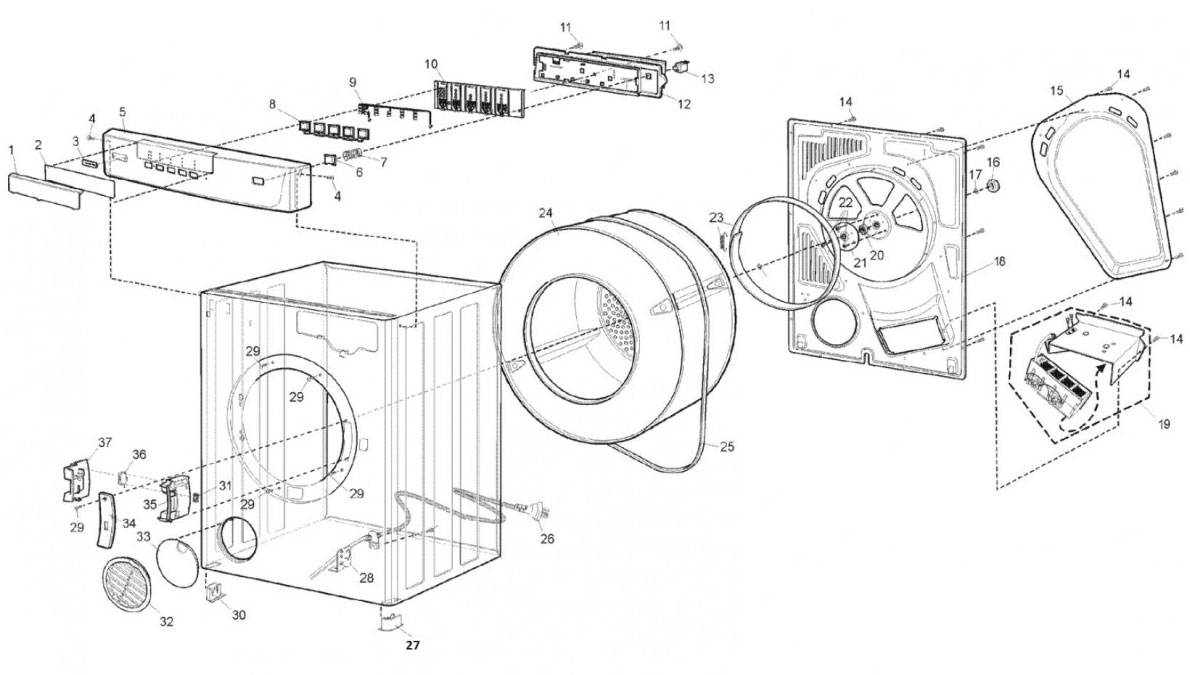
2. Remove the smaller metal panel (1/4" socket, #15 in diagram) in the centre of the rear metal panel of the dryer.
3. Remove the screws for the heating element (1/4" socket, #19 in diagram), pull it out partially, unplug it and remove it.
4. Remove the nut from the back of the drum (1/2" socket, #16 in diagram).
5. Remove the rear metal panel (1/4" socket, #18 in diagram) by unscrewing all of the screws on the perimeter. You may need to unclip the power cable from it before you can remove it fully.
6. Unscrew the bearing carrier (#21 in diagram) from the rear metal panel.
7. Replace the bearing (#20 in diagram).
8. Reverse the process to put it all back together. Maybe give it a clean while you are in there.
Despite the damage to the rear panel of our dryer, it has been working better than ever with the new bearing. The worn-away panel may mean there is less support for the bearing so it may not last as long, but A$11 saved us buying a new dryer for a while at least.
Here is a link to the bearing I purchased: https://www.ebay.com.au/itm/253606002486

Related Posts
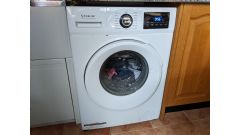
How to replace the door switch on Aldi Stirling STR-FL80 front-loader washing machine (error E4)
by johna | November 25, 2023
How I fixed error E4 on our Stirling STR-FL80 8kg front loader washing machine that we purchased from Aldi.
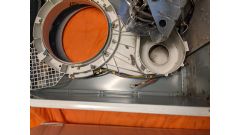
Electrolux/Simpson/Westinghouse clothes dryer struggles to start spinning
by johna | July 20, 2023
Possible solution if your clothes dryer is hard to get started.
Ozito LT4-1000 replacement line trimmer head
by johna | May 5, 2023
A cheap generic replacement line trimmer head to fit the Ozito LT4-1000.


Comments
There are no comments yet. Be the first to leave a comment!